1) 下载Rocket.Chat
[root@srv1 ~]# curl -L https://releases.rocket.chat/latest/download -o /tmp/rocket.chat.tgz
[root@srv1 ~]# tar -xzf /tmp/rocket.chat.tgz -C /tmp
2) 确认Rocket.Chat所使用的Node.js版本
[root@srv1 ~]# head /tmp/bundle/README | grep Node.js
Node.js v12.16.1. To run the application:
3) 安装指定版本的Node.js版本
[root@srv1 ~]# npm config set registry https://registry.npm.taobao.org
[root@srv1 ~]# npm install -g inherits n && n 12.16.1
4) 安装Rocket.Chat
[root@srv1 ~]# cd /tmp/bundle/programs/server && npm install
[root@srv1 ~]# mv /tmp/bundle /opt/Rocket.Chat
5) 配置Rocket.Chat服务文件
[root@srv1 ~]# useradd -M rocketchat && usermod -L rocketchat
[root@srv1 ~]# chown -R rocketchat:rocketchat /opt/Rocket.Chat
[root@srv1 ~]# vim /usr/lib/systemd/system/rocketchat.service
[Unit]
Description=The Rocket.Chat server
After=network.target remote-fs.target nss-lookup.target nginx.target mongod.target
[Service]
ExecStart=/usr/local/bin/node /opt/Rocket.Chat/main.js
StandardOutput=syslog
StandardError=syslog
SyslogIdentifier=rocketchat
User=rocketchat
Environment=MONGO_URL=mongodb://localhost:27017/rocketchat?replicaSet=rs01 MONGO_OPLOG_URL=mongodb://localhost:27017/local?replicaSet=rs01 ROOT_URL=http://192.168.10.11:3000/ PORT=3000
[Install]
WantedBy=multi-user.target
6) 启动MongoDB
[root@srv1 ~]# sed -i "s/^# engine:/ engine: mmapv1/" /etc/mongod.conf
[root@srv1 ~]# sed -i "s/^#replication:/replication:\n replSetName: rs01/" /etc/mongod.conf
[root@srv1 ~]# systemctl enable --now mongod
[root@srv1 ~]# mongo --eval "printjson(rs.initiate())"
MongoDB shell version v4.0.19
connecting to: mongodb://127.0.0.1:27017/?gssapiServiceName=mongodb
Implicit session: session { "id" : UUID("9d686e52-2676-4a75-8a0f-d2aae1623b90") }
MongoDB server version: 4.0.19
{
"info2" : "no configuration specified. Using a default configuration for the set",
"me" : "127.0.0.1:27017",
"ok" : 1,
"operationTime" : Timestamp(1596827926, 1),
"$clusterTime" : {
"clusterTime" : Timestamp(1596827926, 1),
"signature" : {
"hash" : BinData(0,"AAAAAAAAAAAAAAAAAAAAAAAAAAA="),
"keyId" : NumberLong(0)
}
}
}
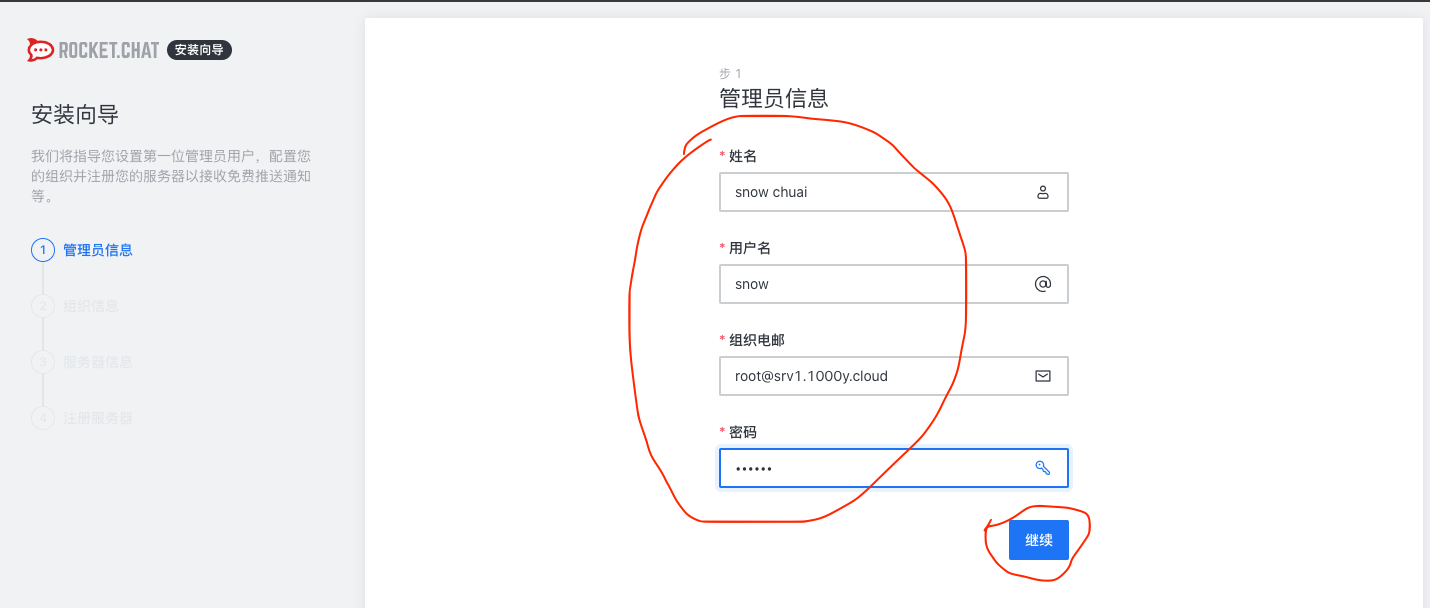
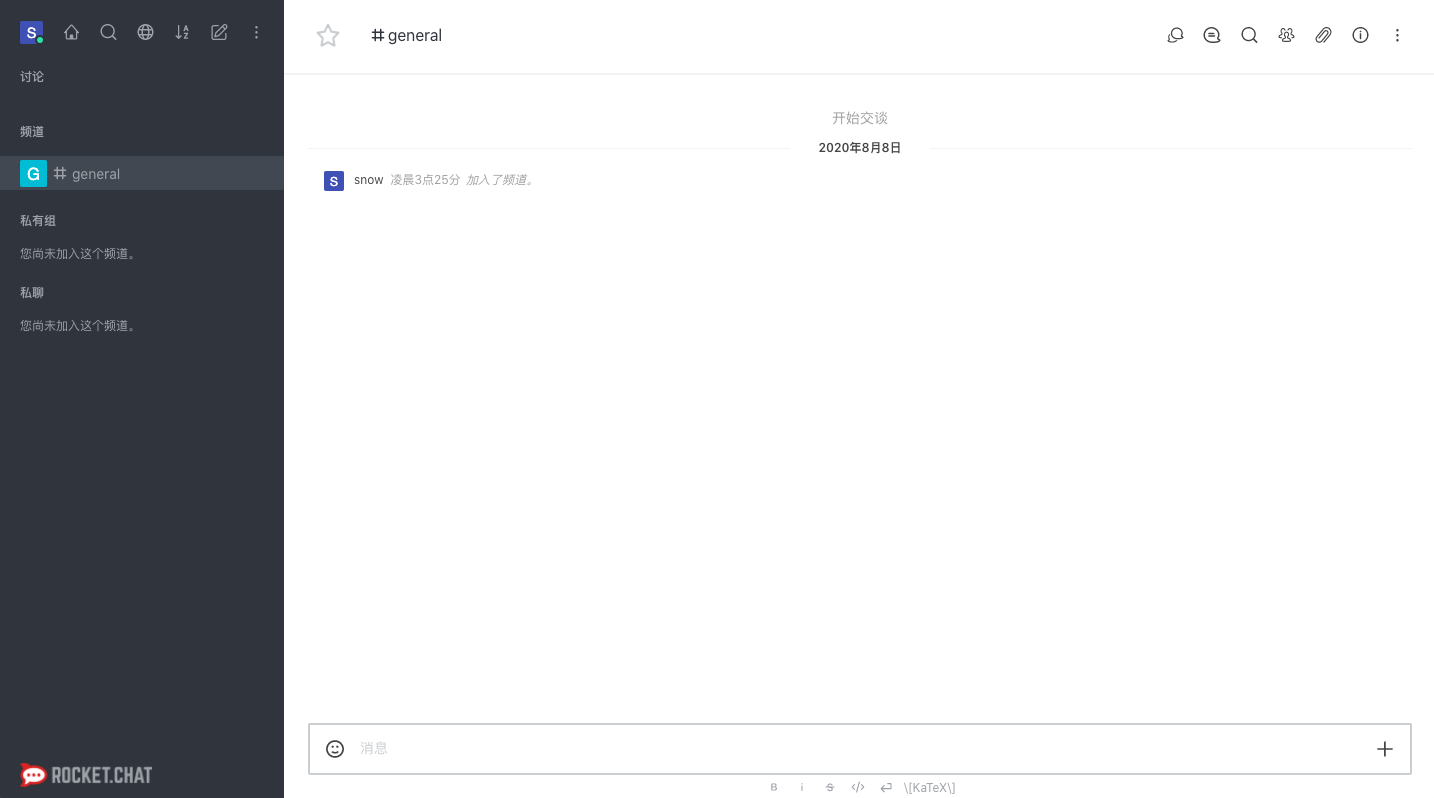
7) 启动Rocket.Chat
[root@srv1 ~]# systemctl enable --now rocketchat
|