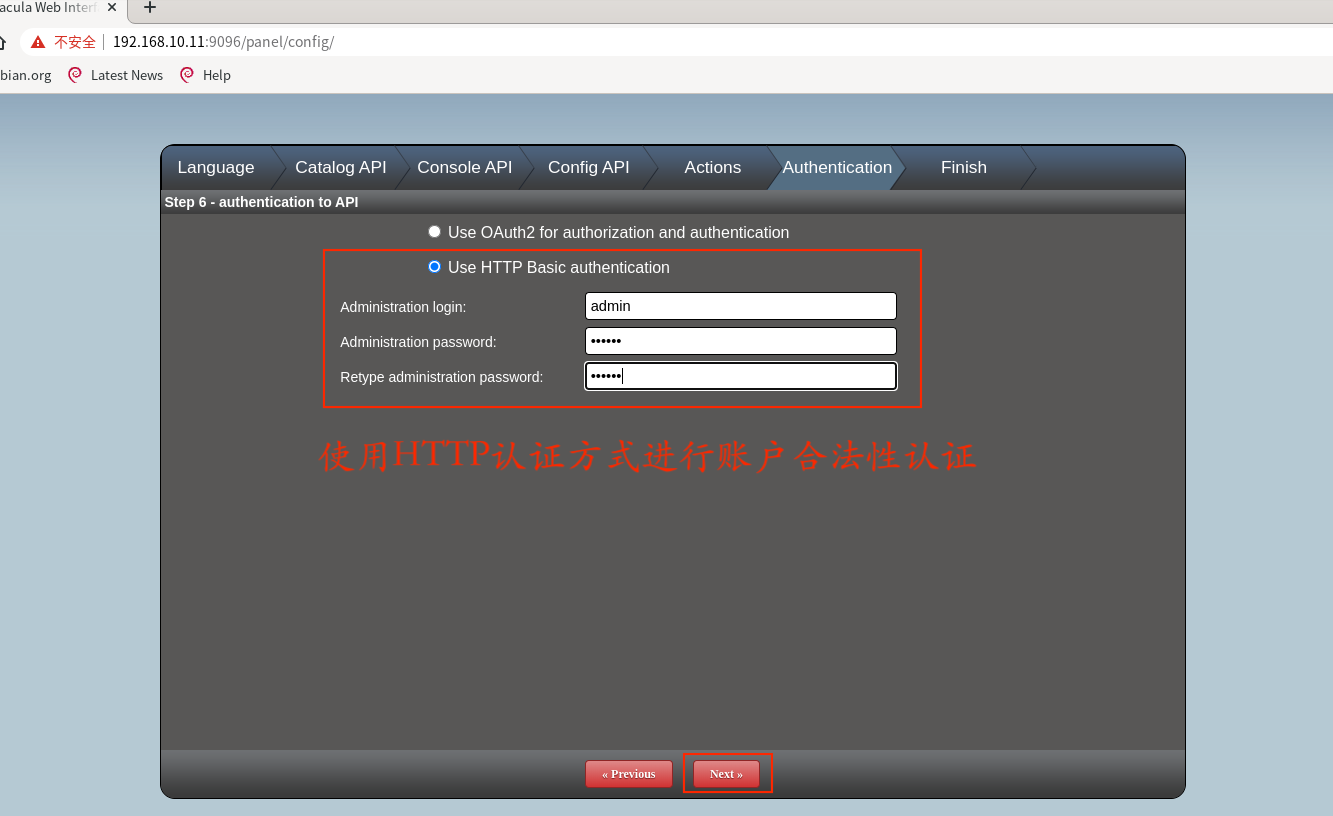
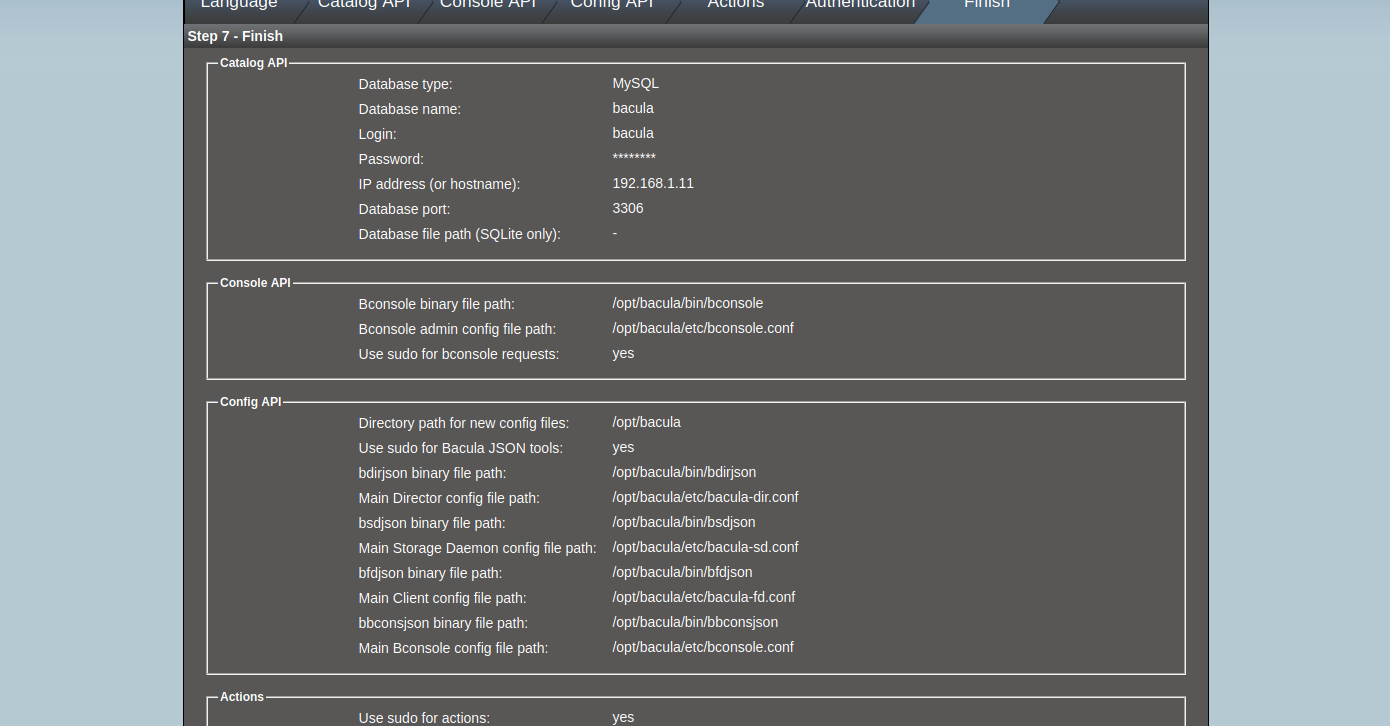
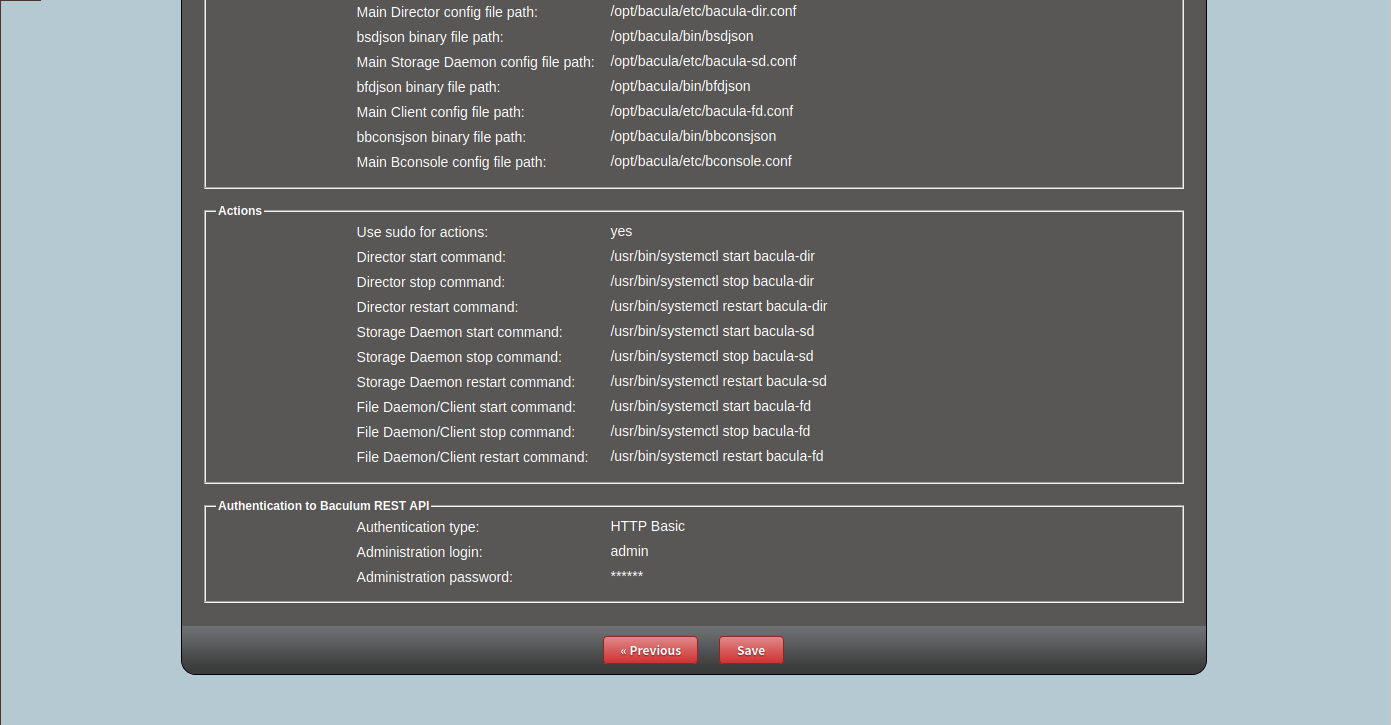
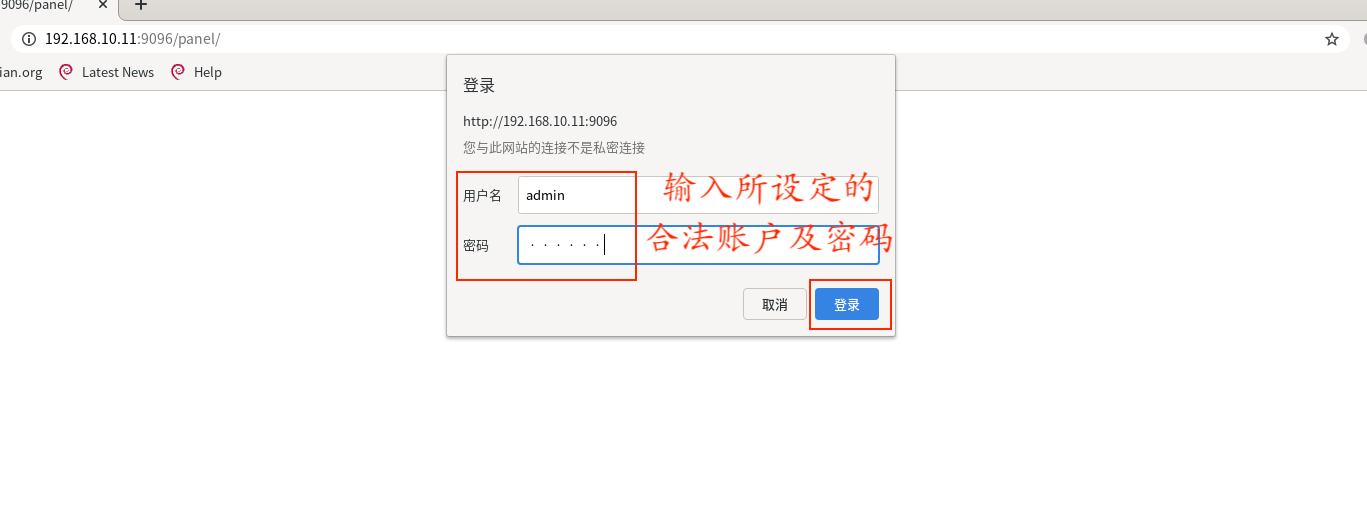
Bacula配置手册
snow chuai汇总、整理、撰写---2020/1/24
最后更新时间----2020/12/10
1. 安装及配置MariaDB
1.1 安装MariaDB
1.2 启动MariaDB服务
1.3 初始化MariaDB
NOTE: RUNNING ALL PARTS OF THIS SCRIPT IS RECOMMENDED FOR ALL MariaDB SERVERS IN PRODUCTION USE! PLEASE READ EACH STEP CAREFULLY!
In order to log into MariaDB to secure it, we'll need the current password for the root user. If you've just installed MariaDB, and you haven't set the root password yet, the password will be blank, so you should just press enter here.
Enter current password for root (enter for none): OK, successfully used password, moving on...
Setting the root password ensures that nobody can log into the MariaDB root user without the proper authorisation.
# 设置MairaDB root密码 Set root password? [Y/n] y New password: Re-enter new password: Password updated successfully! Reloading privilege tables.. ... Success!
By default, a MariaDB installation has an anonymous user, allowing anyone to log into MariaDB without having to have a user account created for them. This is intended only for testing, and to make the installation go a bit smoother. You should remove them before moving into a production environment. # 删除anonymous users Remove anonymous users? [Y/n] y ... Success!
Normally, root should only be allowed to connect from 'localhost'. This ensures that someone cannot guess at the root password from the network.
# 禁止root远程登录 Disallow root login remotely? [Y/n] y ... Success!
By default, MariaDB comes with a database named 'test' that anyone can access. This is also intended only for testing, and should be removed before moving into a production environment.
# 删除test数据库 Remove test database and access to it? [Y/n] y - Dropping test database... ... Success! - Removing privileges on test database... ... Success!
Reloading the privilege tables will ensure that all changes made so far will take effect immediately.
# 刷新privilege tables Reload privilege tables now? [Y/n] y ... Success!
Cleaning up...
All done! If you've completed all of the above steps, your MariaDB installation should now be secure.
Thanks for using MariaDB!1.4 验证
Copyright (c) 2000, 2018, Oracle, Monty Program Ab and others.
Type 'help;' or '\h' for help. Type '\c' to clear the current input statement.
MariaDB [(none)]> select user,host,password from mysql.user; +------+-----------+-------------------------------------------+ | user | host | password | +------+-----------+-------------------------------------------+ | root | localhost | *4A8E38F092B469584F4D5FA76829B8C3E6D3C2B1 | | root | 127.0.0.1 | *4A8E38F092B469584F4D5FA76829B8C3E6D3C2B1 | | root | ::1 | *4A8E38F092B469584F4D5FA76829B8C3E6D3C2B1 | +------+-----------+-------------------------------------------+ 3 rows in set (0.00 sec)
MariaDB [(none)]> show databases; +--------------------+ | Database | +--------------------+ | information_schema | | mysql | | performance_schema | +--------------------+ 3 rows in set (0.00 sec)
MariaDB [(none)]> exit Bye1.5 防火墙设置
2. Bacula Server配置
2.1 安装Bacula Server
2.2 连接MariaDB
Selection Command ----------------------------------------------- 1 /usr/lib64/libbaccats-mysql.so 2 /usr/lib64/libbaccats-sqlite3.so *+ 3 /usr/lib64/libbaccats-postgresql.so
Enter to keep the current selection[+], or type selection number: 12.3 将Bacula数据库导入至MariaDB
[root@baculasrv ~]# /usr/libexec/bacula/create_mysql_database -p Enter password: Creation of bacula database succeeded.
[root@baculasrv ~]# /usr/libexec/bacula/make_mysql_tables -p Enter password: Creation of Bacula MySQL tables succeeded.
2.4 设置在DB中设置bacula账户密码
Copyright (c) 2000, 2018, Oracle, MariaDB Corporation Ab and others.
Type 'help;' or '\h' for help. Type '\c' to clear the current input statement.
MariaDB [(none)]> set password for bacula@'%'=password('password'); # 设定bacula账户密码为password Query OK, 0 rows affected (0.00 sec)
MariaDB [(none)]> set password for bacula@'localhost'=password('password'); Query OK, 0 rows affected (0.00 sec)
MariaDB [(none)]> select user,host,password from mysql.user; +--------+-----------+-------------------------------------------+ | user | host | password | +--------+-----------+-------------------------------------------+ | root | localhost | *4A8E38F092B469584F4D5FA76829B8C3E6D3C2B1 | | root | 127.0.0.1 | *4A8E38F092B469584F4D5FA76829B8C3E6D3C2B1 | | root | ::1 | *4A8E38F092B469584F4D5FA76829B8C3E6D3C2B1 | | bacula | % | *2470C0C06DEE42FD1618BB99005ADCA2EC9D1E19 | | bacula | localhost | *2470C0C06DEE42FD1618BB99005ADCA2EC9D1E19 | +--------+-----------+-------------------------------------------+ 5 rows in set (0.00 sec)
MariaDB [(none)]> show databases; +--------------------+ | Database | +--------------------+ | information_schema | | bacula | | mysql | | performance_schema | +--------------------+ 4 rows in set (0.00 sec)
MariaDB [(none)]> show tables from bacula; +------------------+ | Tables_in_bacula | +------------------+ | ....... | +------------------+ 25 rows in set (0.01 sec)
MariaDB [(none)]> exit Bye2.5 配置Bacula Server
2.5.1 配置Bacula Director
[root@baculasrv ~]# vim /etc/bacula/bacula-dir.conf
Director {
  Name = bacula-dir
  DIRport = 9101
  QueryFile = "/etc/bacula/query.sql"
  WorkingDirectory = "/var/spool/bacula"
  PidDirectory = "/var/run"
  Maximum Concurrent Jobs = 1
  Password = "password"         # 22行,设置Console密码
  Messages = Daemon
}

FileSet {
Name = "Full Set"
Include {
    Options {
    signature = MD5
    Compression = GZIP # 94行,添加压缩格式
   }
  File = /etc/yum.repos.d # 110行,指定备份客户端的目录名称
}

Client {
  Name = bacula-fd
  Address = client.1000cc.net  # 158行,指定备份客户端FQDN或IP地址
  FDPort = 9102
  Catalog = MyCatalog
  Password = "password"    # 161行,指定password
  File Retention = 30 days
  Job Retention = 6 months
  AutoPrune = yes
}

 Storage {
  Name = File
  Address = baculasrv.1000cc.net  # 187行,指定sd的FQDN/IP
  SDPort = 9103
  Password = "password"    # 189行,指定sd的password
  Device = FileStorage
  Media Type = File
 }

 Catalog {
   Name = MyCatalog
   dbname = "bacula"; dbuser = "bacula"; dbpassword = "password" # 236行,指定bacula的数据库、账户、密码
 }

 Pool {
   Name = Default
   Pool Type = Backup
   Recycle = yes
   AutoPrune = yes
   Volume Retention = 180 days # 286行,Volume设定保存天数
   Maximum Volume Jobs = 1 # 添加287行,设定max vol jobs为1
   Label Format = Vol-  # 添加288行,设定格式为Vol-开头
 }

 #将312-316行注释
 # Console {
 # Name = bacula-mon
 # Password = "@@MON_DIR_PASSWORD@@"
 # CommandACL = status, .status
#}
2.5.2 配置bconsole
[root@baculasrv ~]# vim /etc/bacula/bconsole.conf
Director {
  Name = bacula-dir
  DIRport = 9101
  address = baculasrv.1000cc.net  # 设定8行,定义Director的FQDN或IP地址
  Password = "password"   # 设定8行,定义Director的password
}

[root@baculasrv ~]# vim /usr/libexec/bacula/make_catalog_backup.pl
# 于109行,添加绿色字段内容
exec("HOME='$wd' mysqldump -f -u$args{db_user} -p$args{db_password} --opt $args{db_name} > '$wd/$args{db_name}.sql'");

[root@baculasrv ~]# systemctl enable --now bacula-dir
2.5.3 配置bacula-sd
[root@baculasrv ~]# vim /etc/bacula/bacula-sd.conf
Director {
 Name = bacula-dir
 Password = "password"  # 设定26行,定义Director的password
}

# 注销33-37行
#Director {
  #Name = bacula-mon
  #Password = "@@MON_SD_PASSWORD@@"
  #Monitor = yes
  #}

[root@baculasrv ~]# systemctl enable --now bacula-sd
3. Bacula Client配置
[root@client ~]# yum install -y bacula-client bacula-console |
4. Bacula备份及操作
4.1 备份操作
[root@baculasrv ~]# bconsole
Connecting to Director baculasrv.1000cc.net:9101
1000 OK: bacula-dir Version: 5.2.13 (19 February 2013)
Enter a period to cancel a command.
*label  # 创建一个备份
Automatically selected Catalog: MyCatalog
Using Catalog "MyCatalog"
Automatically selected Storage: File
Enter new Volume name:Vol-client-20200125
Defined Pools:
     1: Default
     2: File
     3: Scratch
Select the Pool (1-3):2
Connecting to Storage daemon File at baculasrv.1000cc.net:9103 ...
Sending label command for Volume "Vol-client-20200125" Slot 0 ...
3000 OK label. VolBytes=214 DVD=0 Volume="Vol-client-20200125" Device="FileStorage" (/tmp)
Catalog record for Volume "Vol-client-20200125", Slot 0  successfully created.
Requesting to mount FileStorage ...
3906 File device ""FileStorage" (/tmp)" is always mounted.
*run  # 开始备份
A job name must be specified.
The defined Job resources are:
     1: BackupClient1
     2: BackupCatalog
     3: RestoreFiles
Select Job resource (1-3): 1
Run Backup job
JobName:  BackupClient1
Level:    Incremental
Client:   bacula-fd
FileSet:  Full Set
Pool:     File (From Job resource)
Storage:  File (From Job resource)
When:     2020-01-25 19:01:43
Priority: 10
OK to run? (yes/mod/no): yes
*message
......
......
Termination:            Backup OK

25-Jan 19:03 bacula-dir JobId 1: Begin pruning Jobs older than 6 months .
......
......

*exit

[root@baculasrv ~]# ll /tmp/Vol-*
-rw-r-----  1 bacula tape 5948 Jan 25 19:03 Vol-client-20200125
4.2 恢复操作
First you select one or more JobIds that contain files to be restored. You will be presented several methods of specifying the JobIds. Then you will be allowed to select which files from those JobIds are to be restored.
To select the JobIds, you have the following choices: 1: List last 20 Jobs run 2: List Jobs where a given File is saved 3: Enter list of comma separated JobIds to select 4: Enter SQL list command 5: Select the most recent backup for a client 6: Select backup for a client before a specified time 7: Enter a list of files to restore 8: Enter a list of files to restore before a specified time 9: Find the JobIds of the most recent backup for a client 10: Find the JobIds for a backup for a client before a specified time 11: Enter a list of directories to restore for found JobIds 12: Select full restore to a specified Job date 13: Cancel Select item: (1-13):5 Automatically selected Client: bacula-fd Automatically selected FileSet: Full Set +-------+-------+----------+----------+---------------------+---------------------+ | JobId | Level | JobFiles | JobBytes | StartTime | VolumeName | +-------+-------+----------+----------+---------------------+---------------------+ | 1 | F | 10 | 3,888 | 2020-01-25 19:03:15 | Vol-client-20200125 | +-------+-------+----------+----------+---------------------+---------------------+ You have selected the following JobId: 1
Building directory tree for JobId(s) 1 ... 9 files inserted into the tree.
You are now entering file selection mode where you add (mark) and remove (unmark) files to be restored. No files are initially added, unless you used the "all" keyword on the command line. Enter "done" to leave this mode.
cwd is: / $ ls # 显示备份文件 etc/ $ mark etc # 标记备份文件 10 files marked. $ lsmark # 验证所需恢复的备份文档 *etc/ *yum.repos.d/ *CentOS-Base.repo *CentOS-CR.repo *CentOS-Debuginfo.repo *CentOS-Media.repo *CentOS-Sources.repo *CentOS-Vault.repo *CentOS-fasttrack.repo *epel-testing.repo *epel.repo $ done # 恢复 Bootstrap records written to /var/spool/bacula/bacula-dir.restore.1.bsr
The job will require the following Volume(s) Storage(s) SD Device(s) ===========================================================================
Vol-client-20200125 File FileStorage
Volumes marked with "*" are online.
10 files selected to be restored.
Run Restore job JobName: RestoreFiles Bootstrap: /var/spool/bacula/bacula-dir.restore.1.bsr Where: /tmp/bacula-restores Replace: always FileSet: Full Set Backup Client: bacula-fd Restore Client: bacula-fd Storage: File When: 2020-01-25 19:20:43 Catalog: MyCatalog Priority: 10 Plugin Options: *None* OK to run? (yes/mod/no): yes Job queued. JobId=2 *message ...... ...... Termination: Restore OK
25-Jan 19:24 bacula-dir JobId 2: Begin pruning Jobs older than 6 months . ...... ......
*exit
[root@client ~]# tree /tmp /tmp ├── bacula-restores │ └── etc │ └── yum.repos.d │ ├── CentOS-Base.repo │ ├── CentOS-CR.repo | ├── CentOS-Debuginfo.repo │ ├── CentOS-fasttrack.repo │ ├── CentOS-Media.repo │ ├── CentOS-Sources.repo │ ├── CentOS-Vault.repo │ ├── epel.repo │ └── epel-testing.repo ├── ks-script-TjTYwP ├── systemd-private-87dbbba3881142569ae4a99396dec608-chronyd.service-TCXNOI │ └── tmp └── yum.log
5 directories, 11 files
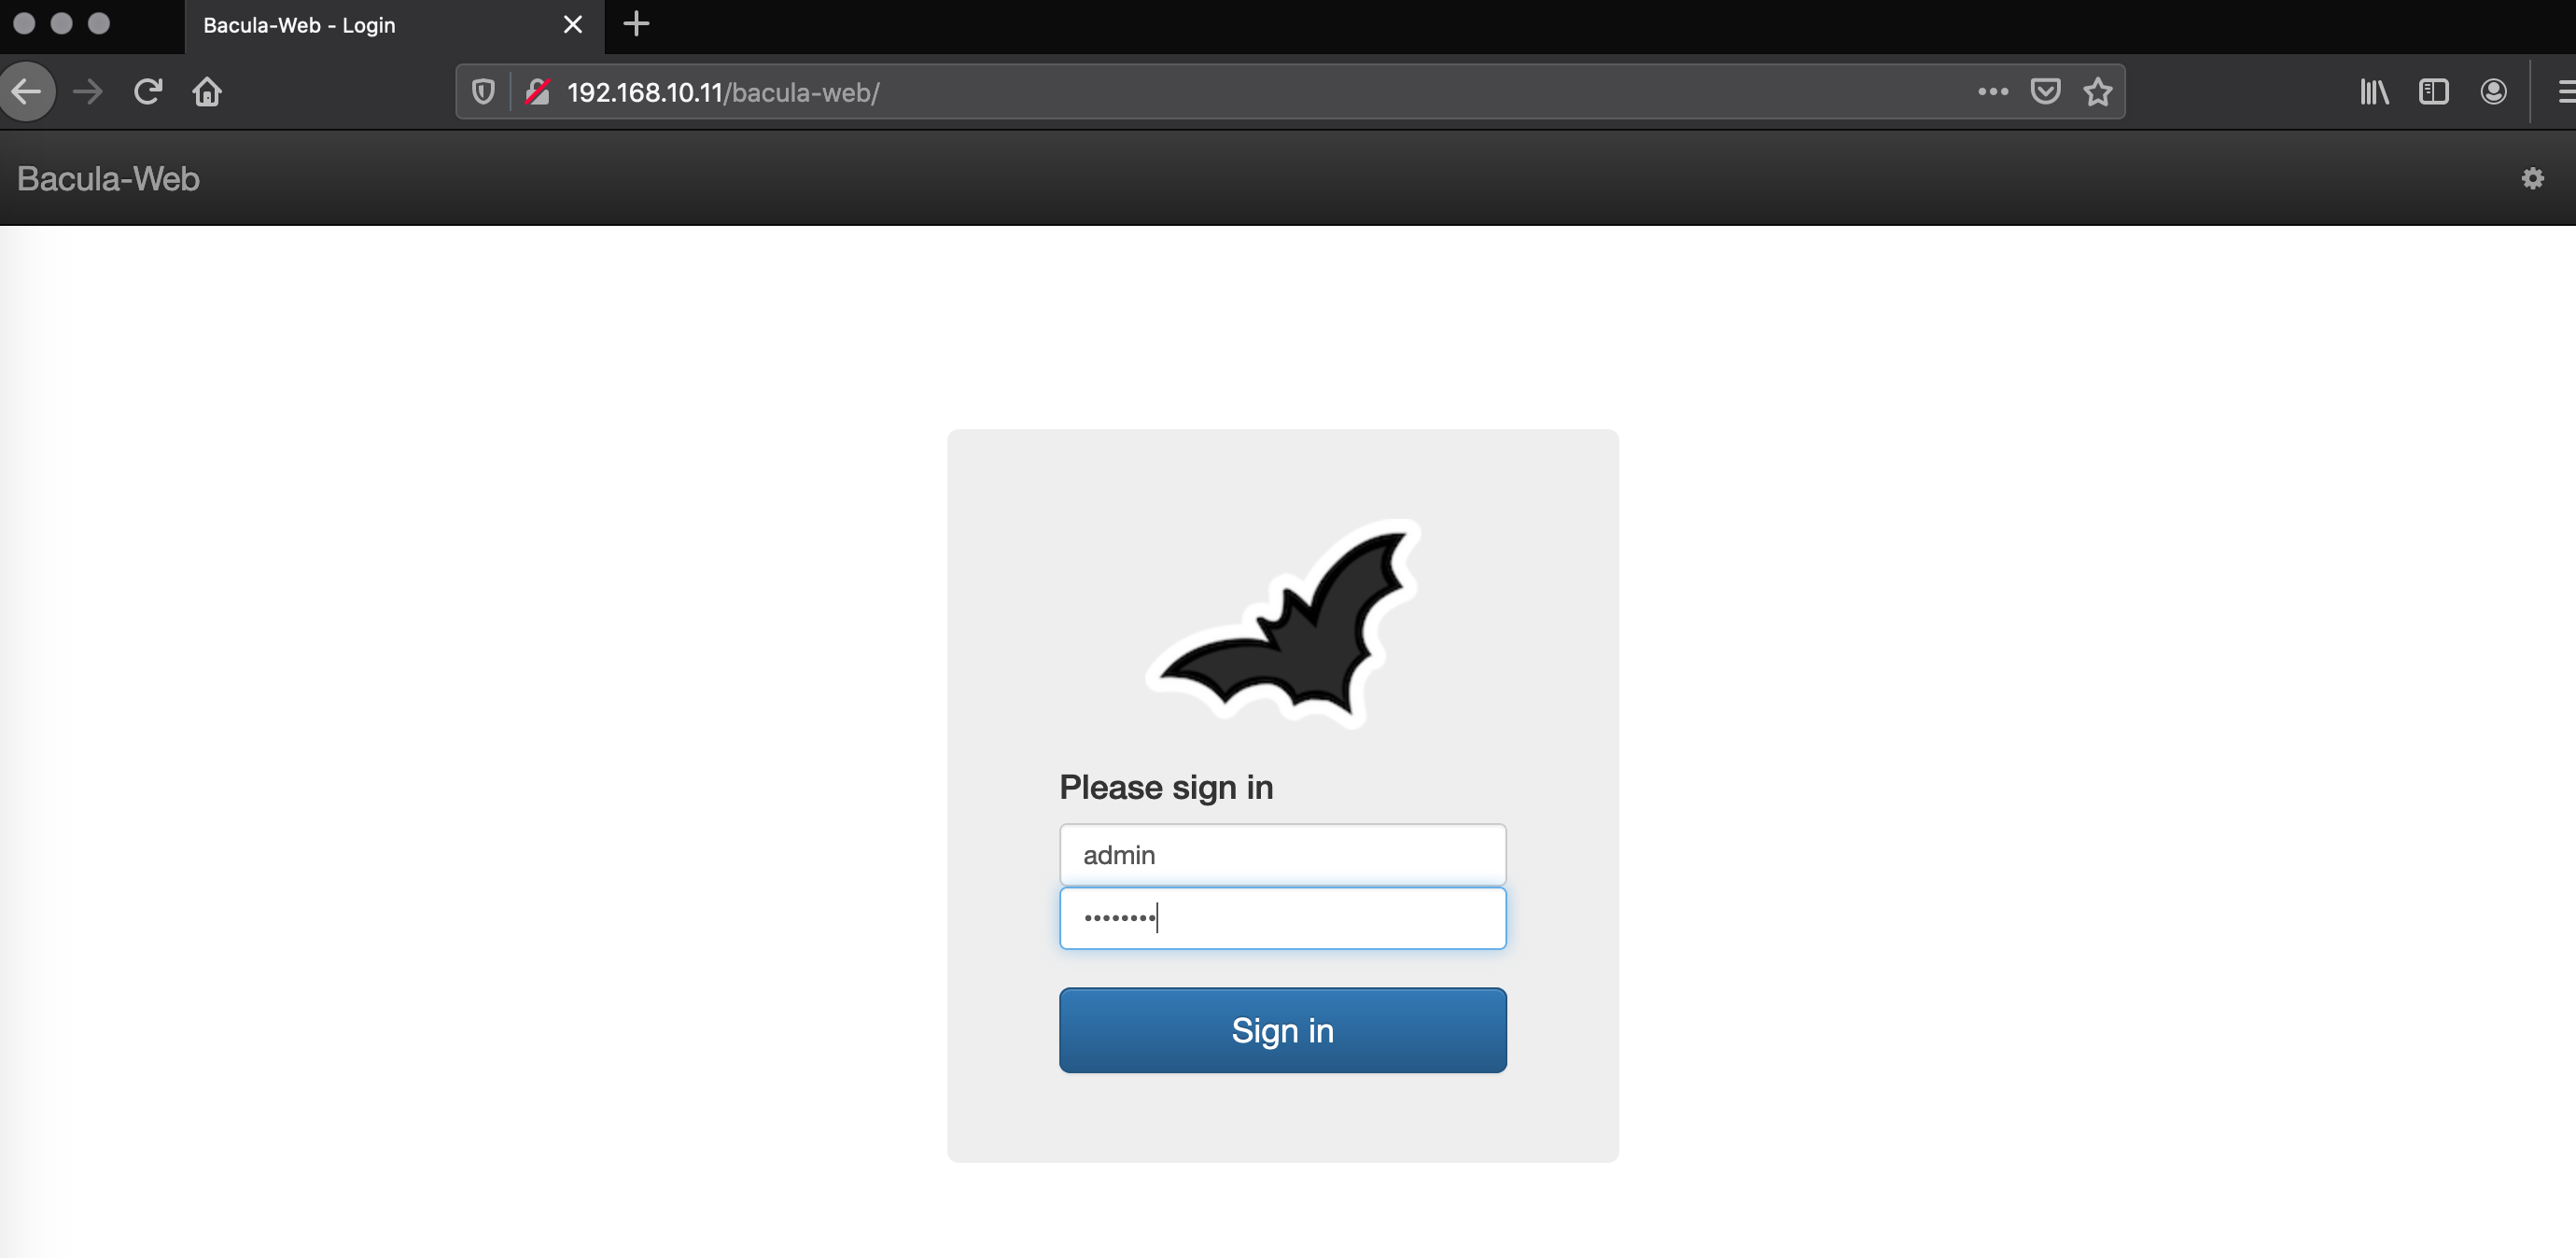
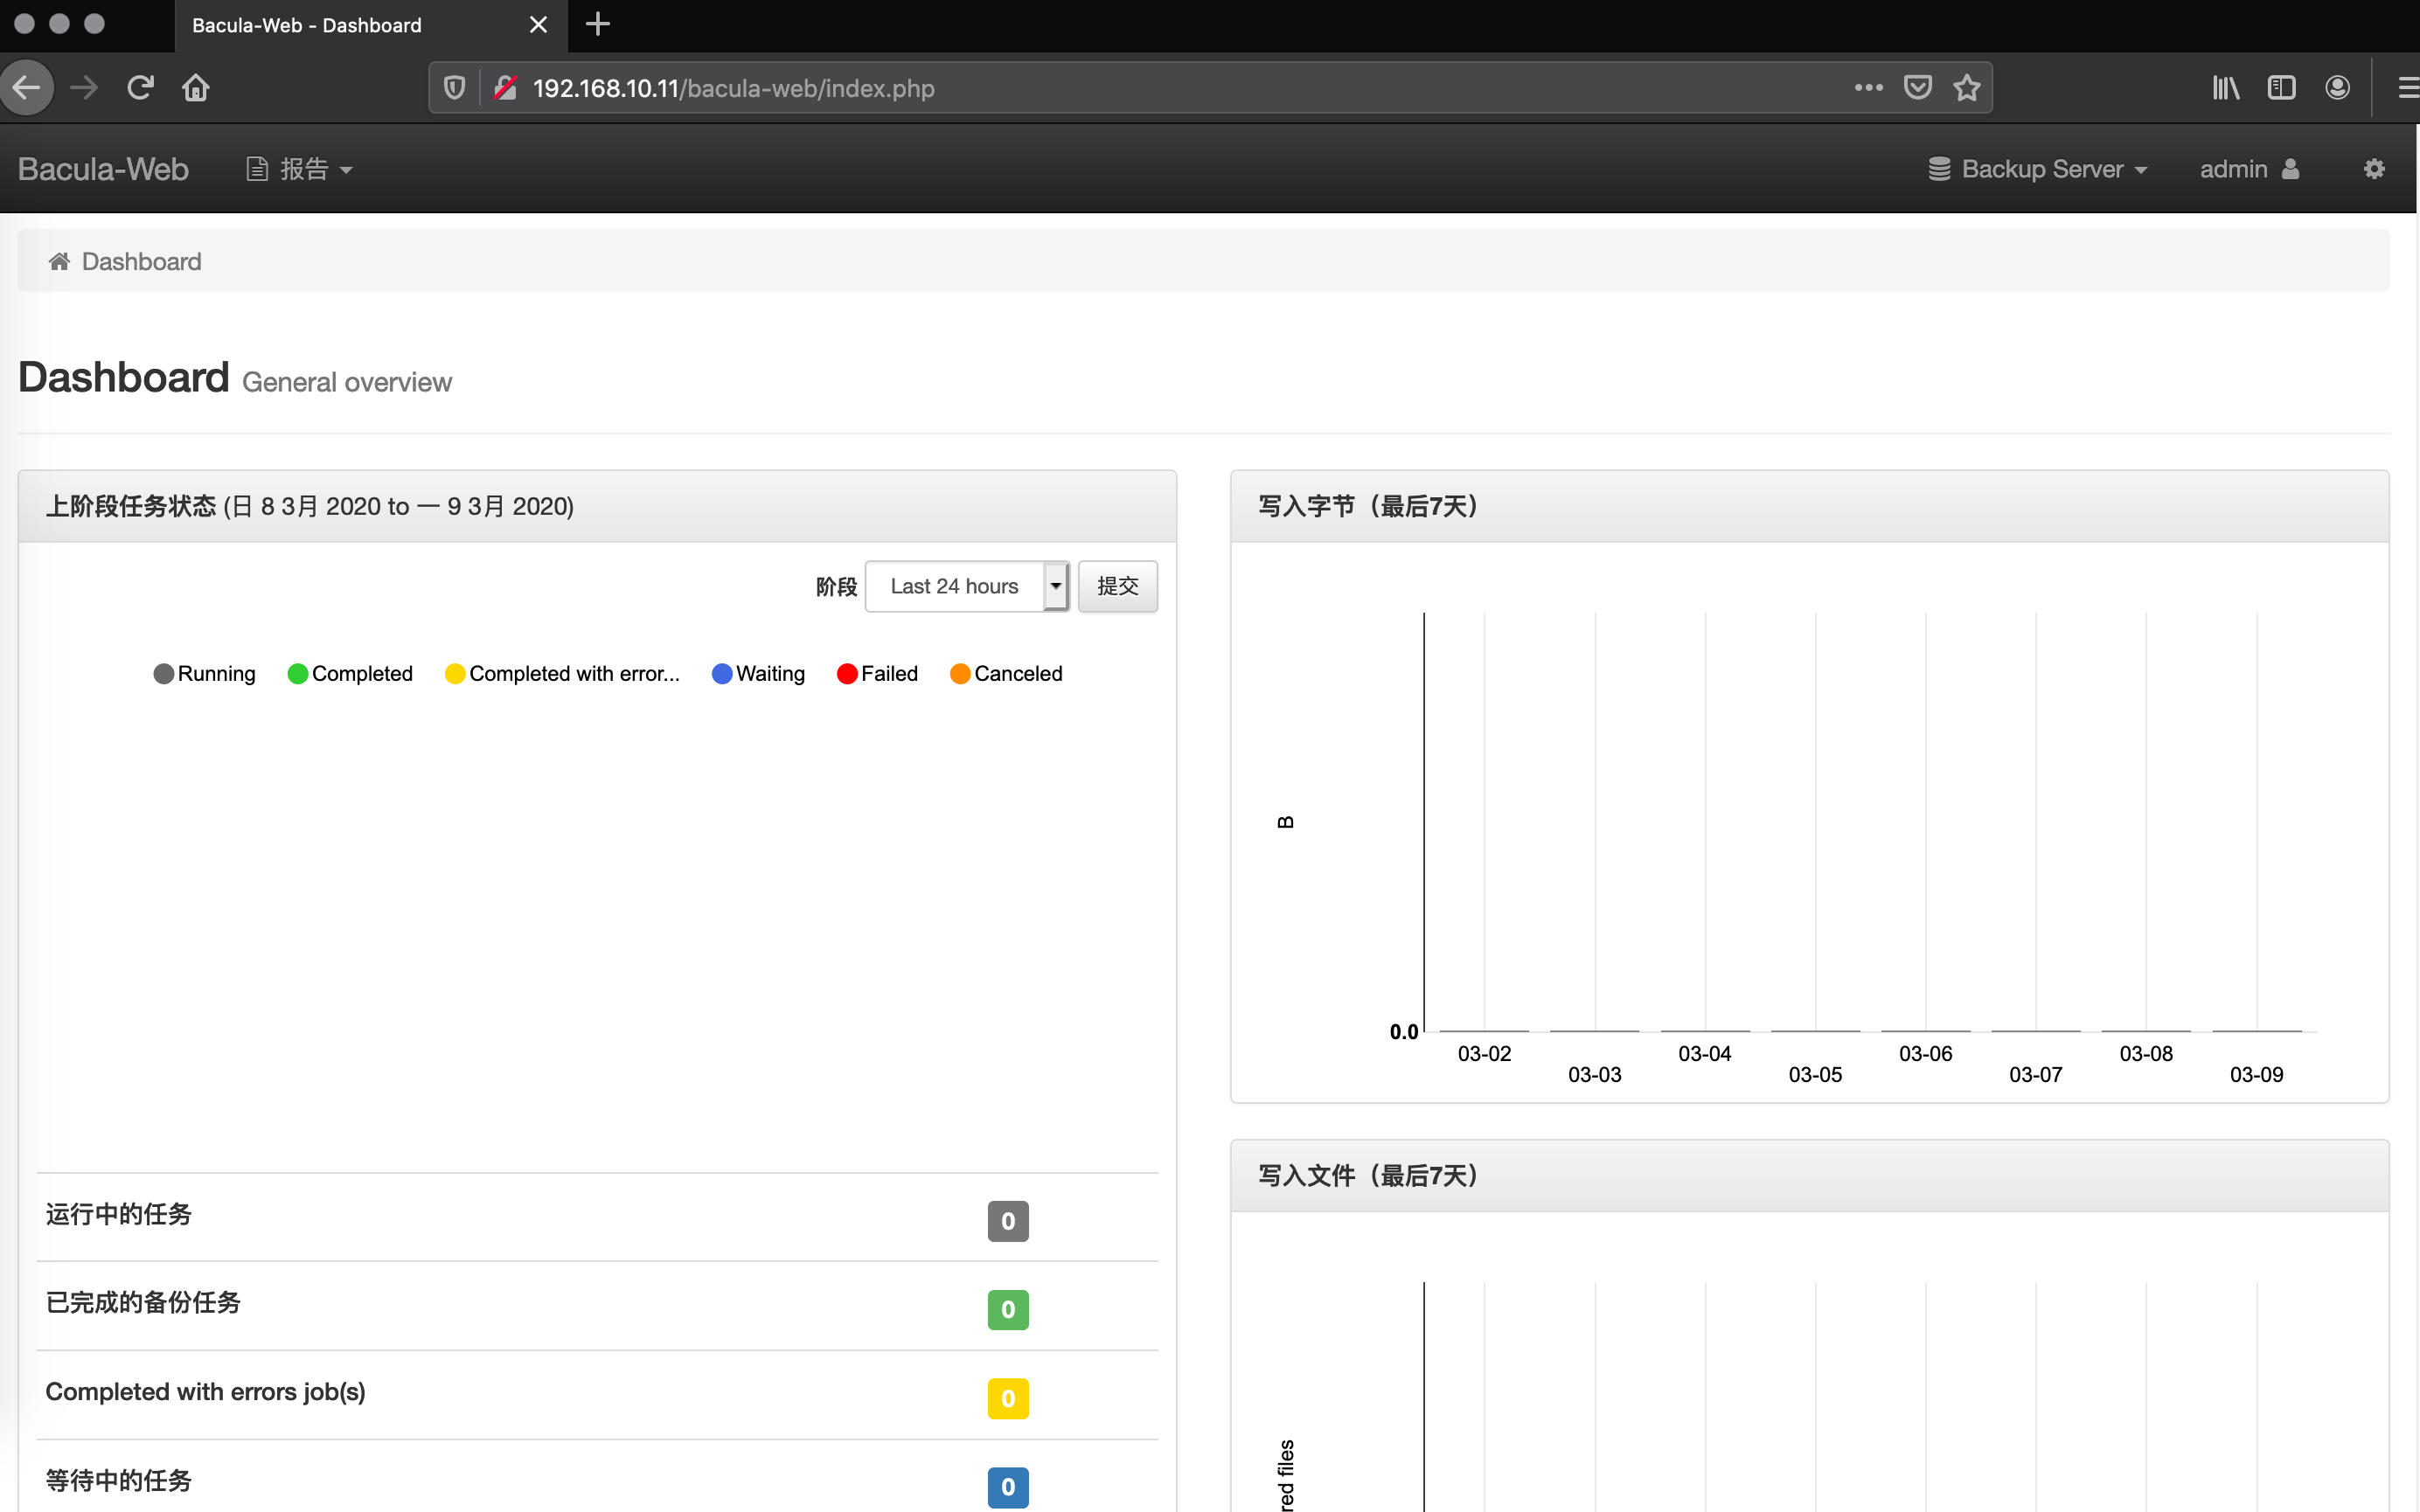
5. Bacula WEB UI
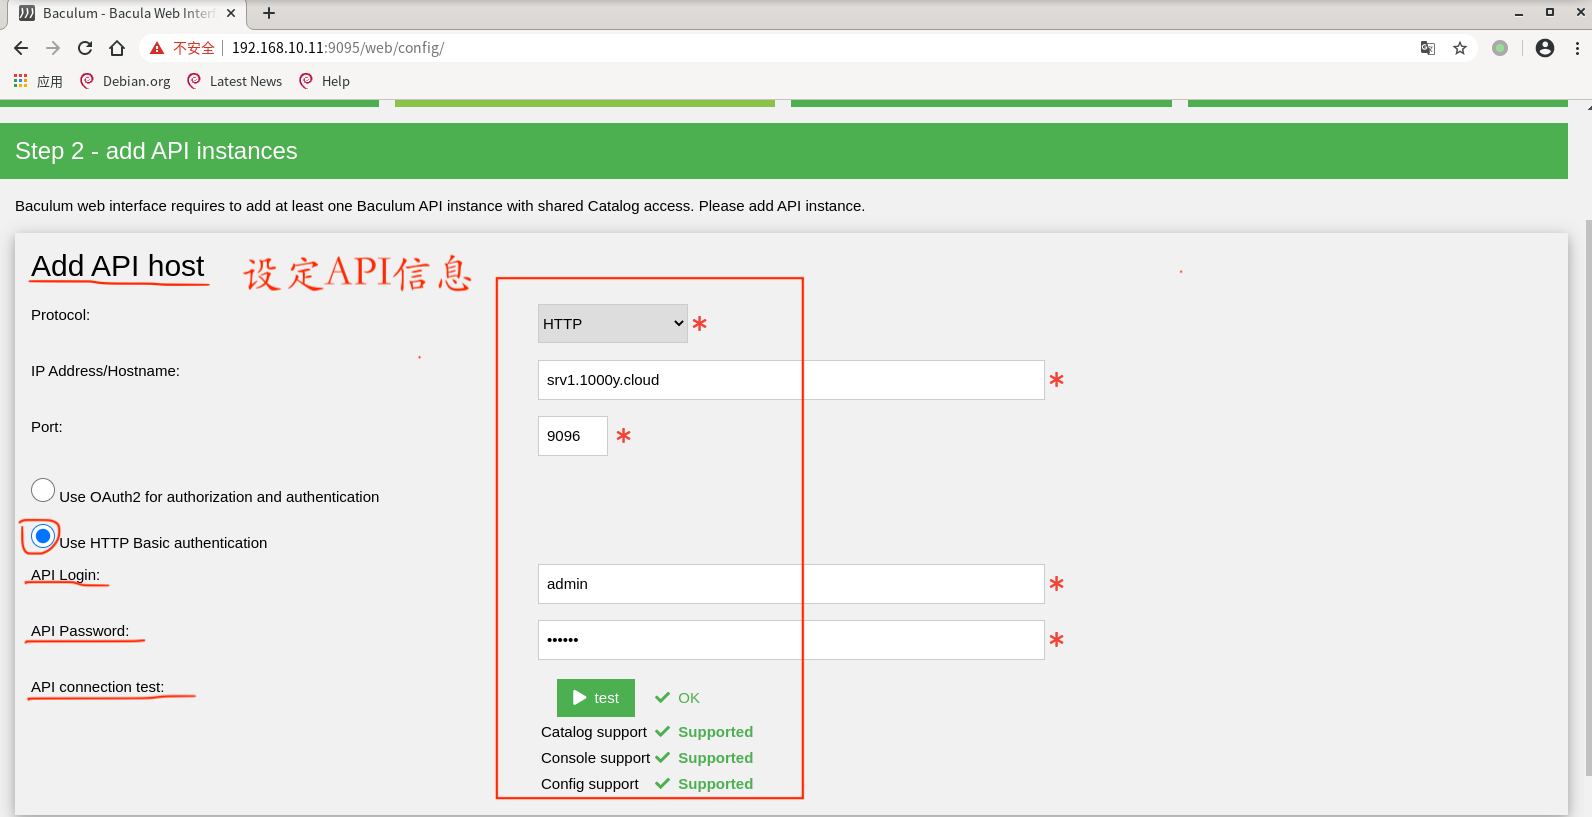
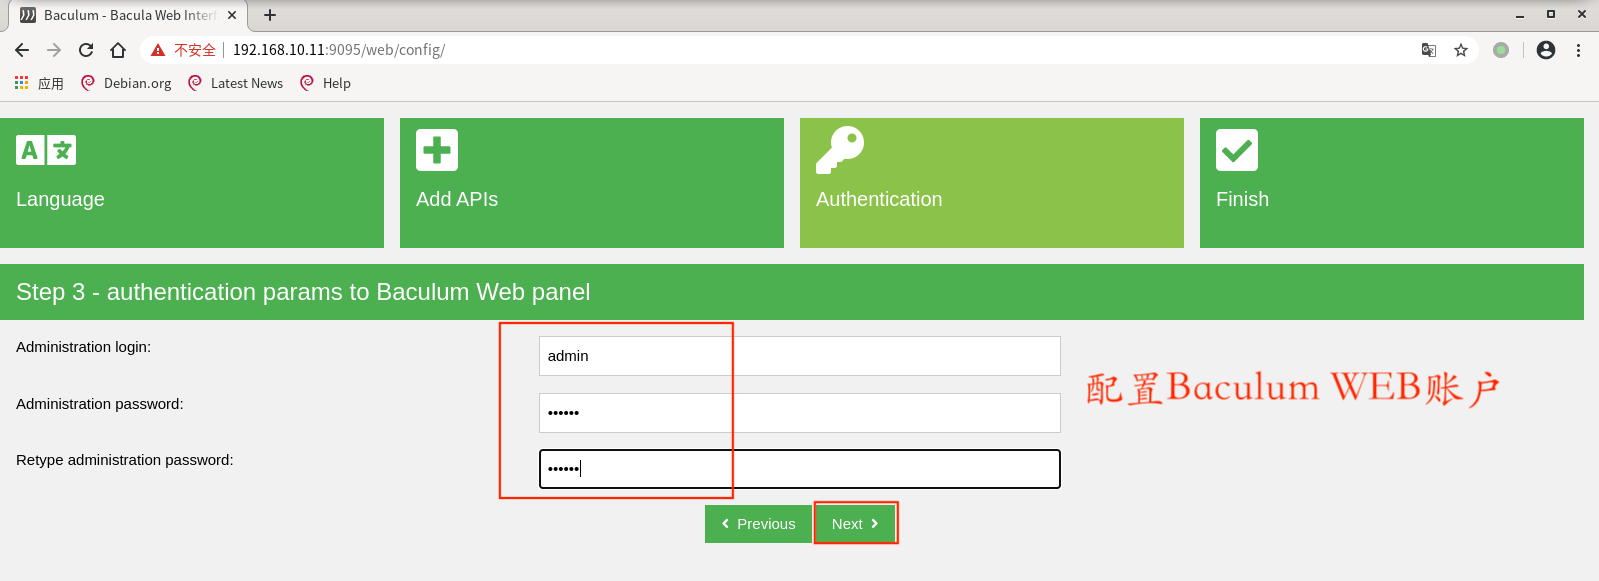
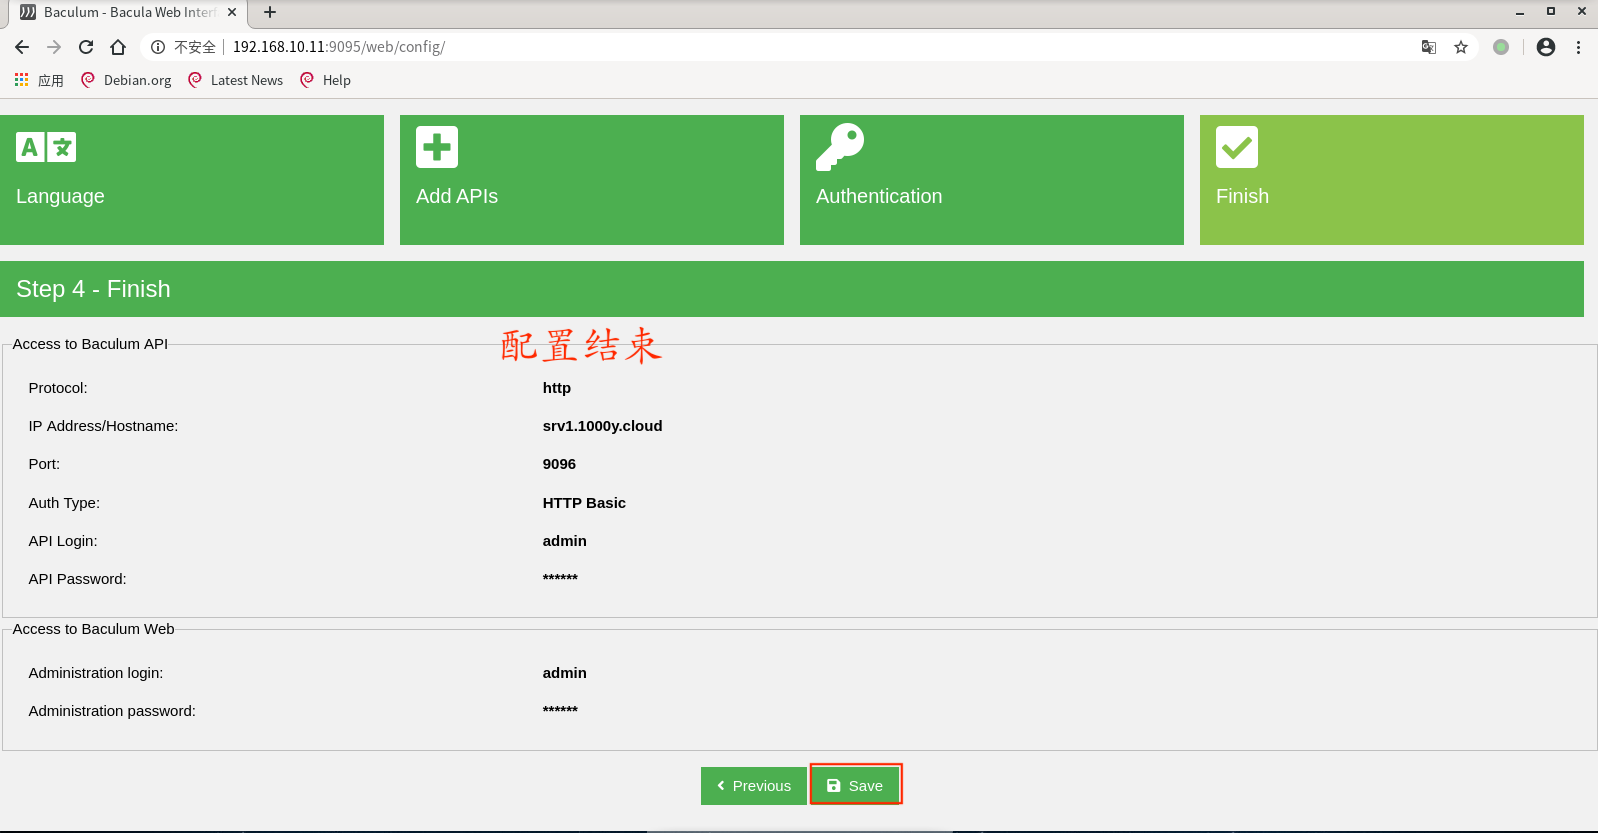
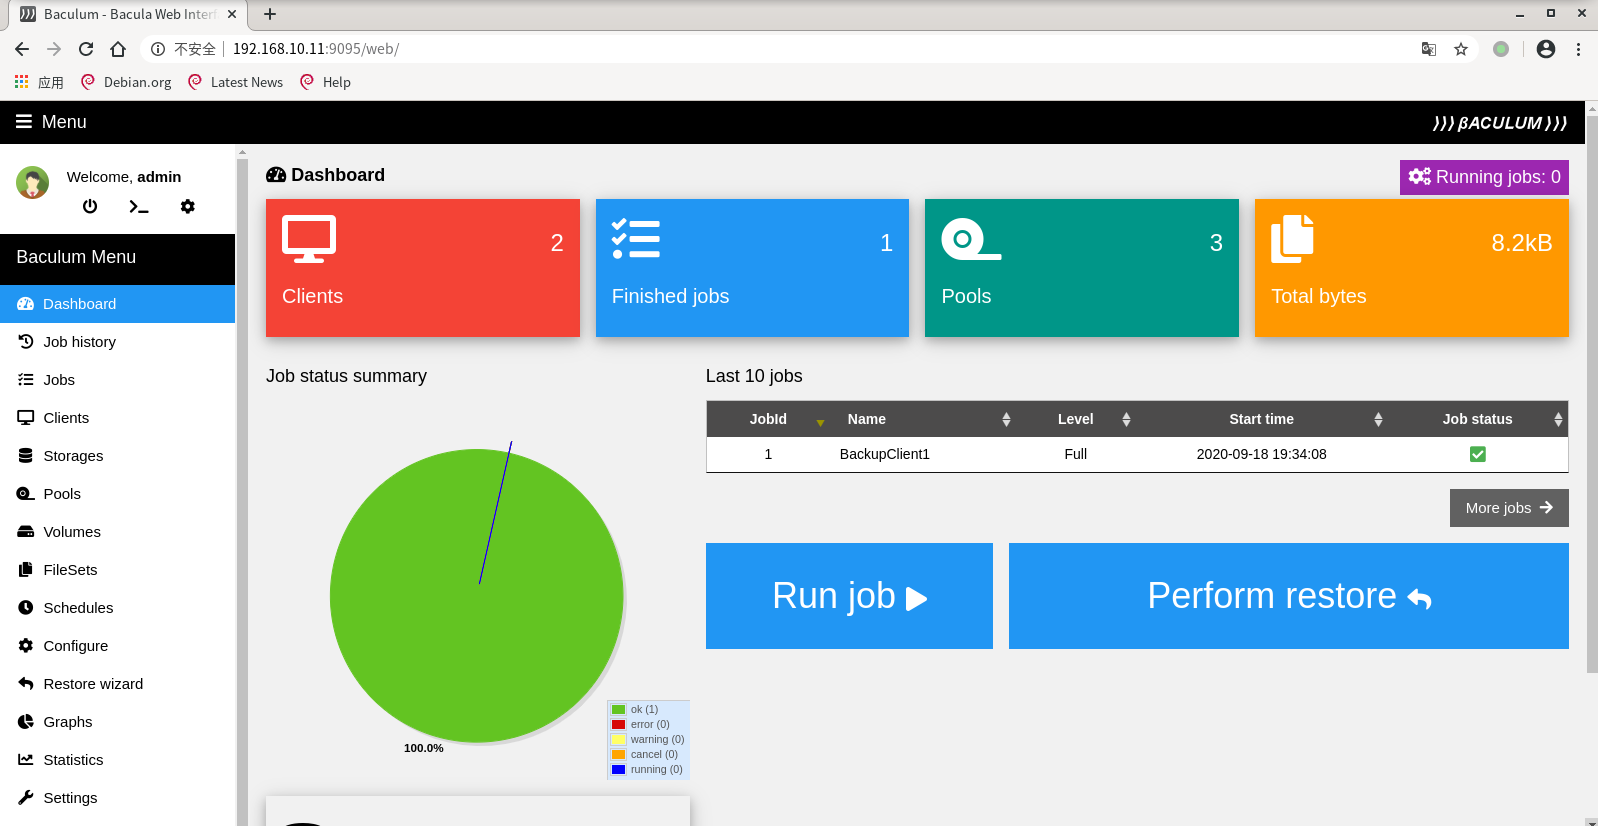
1) 安装httpd及php环境 [root@srv1 ~]# yum install http://rpms.famillecollet.com/enterprise/remi-release-7.rpm -y [root@srv1 ~]# sed -i -e "s/\]$/\]\npriority=10/g" /etc/yum.repos.d/remi-safe.repo [root@srv1 ~]# sed -i -e "s/enabled=1/enabled=0/g" /etc/yum.repos.d/remi-safe.repo |
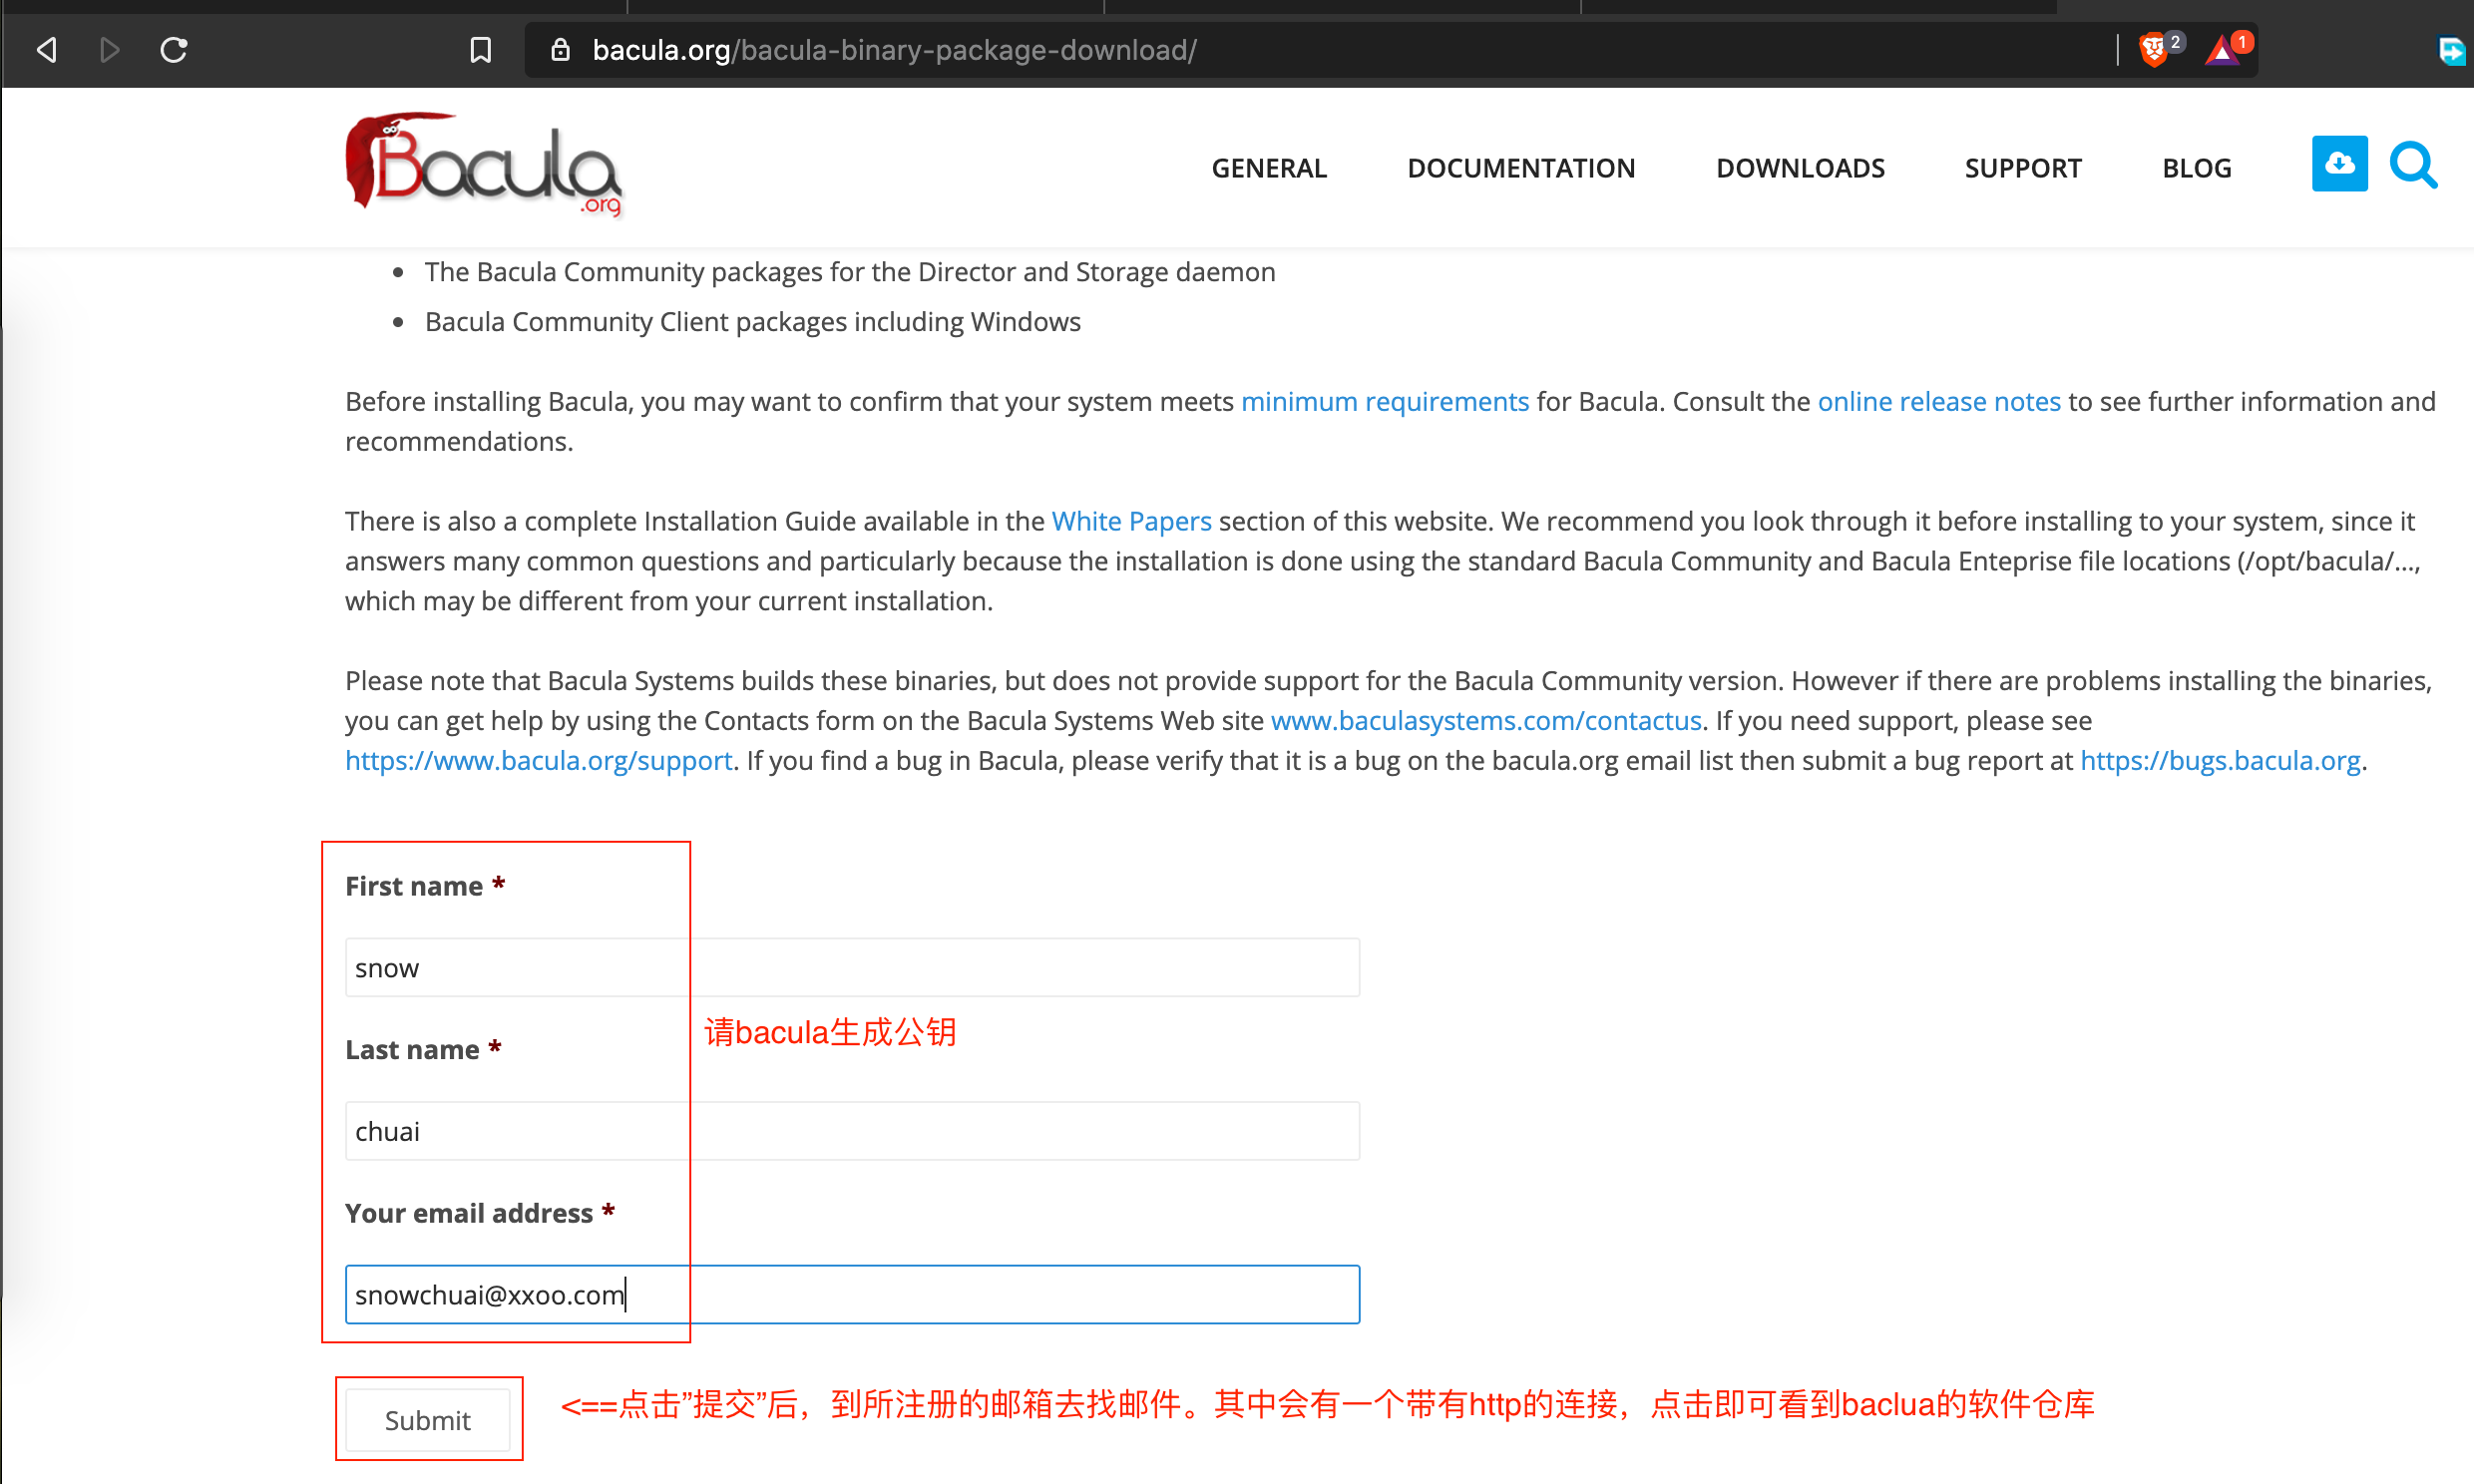
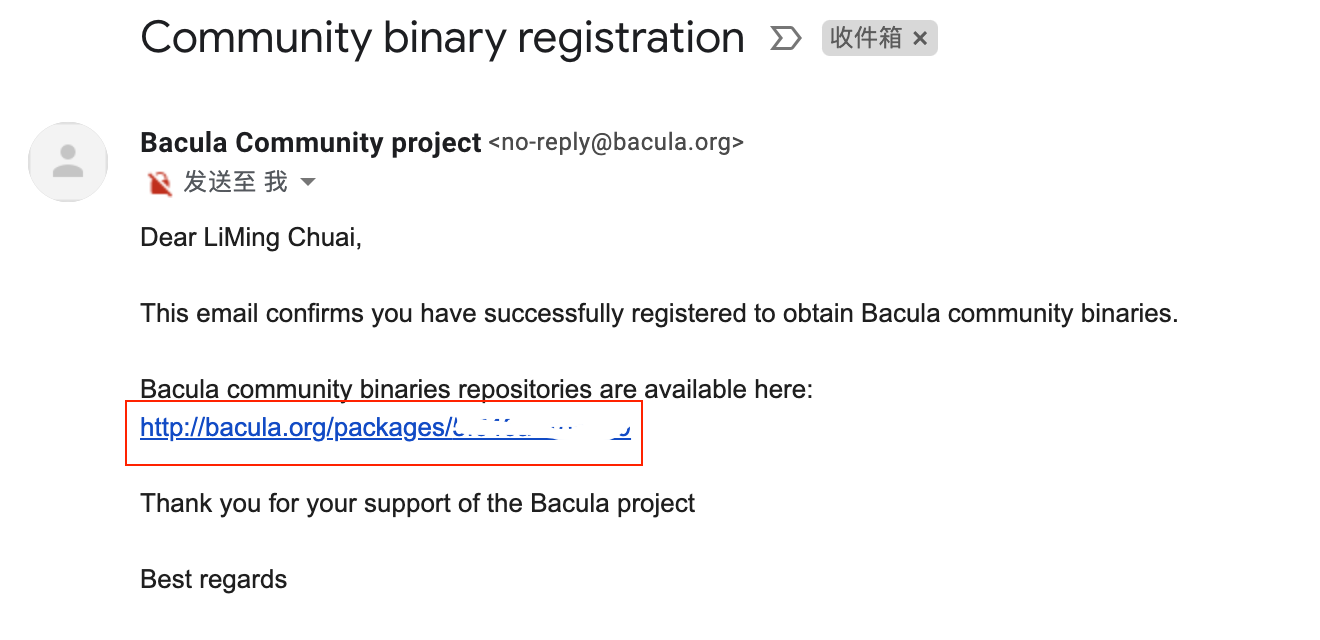
6. 安装最新版本的Bacula
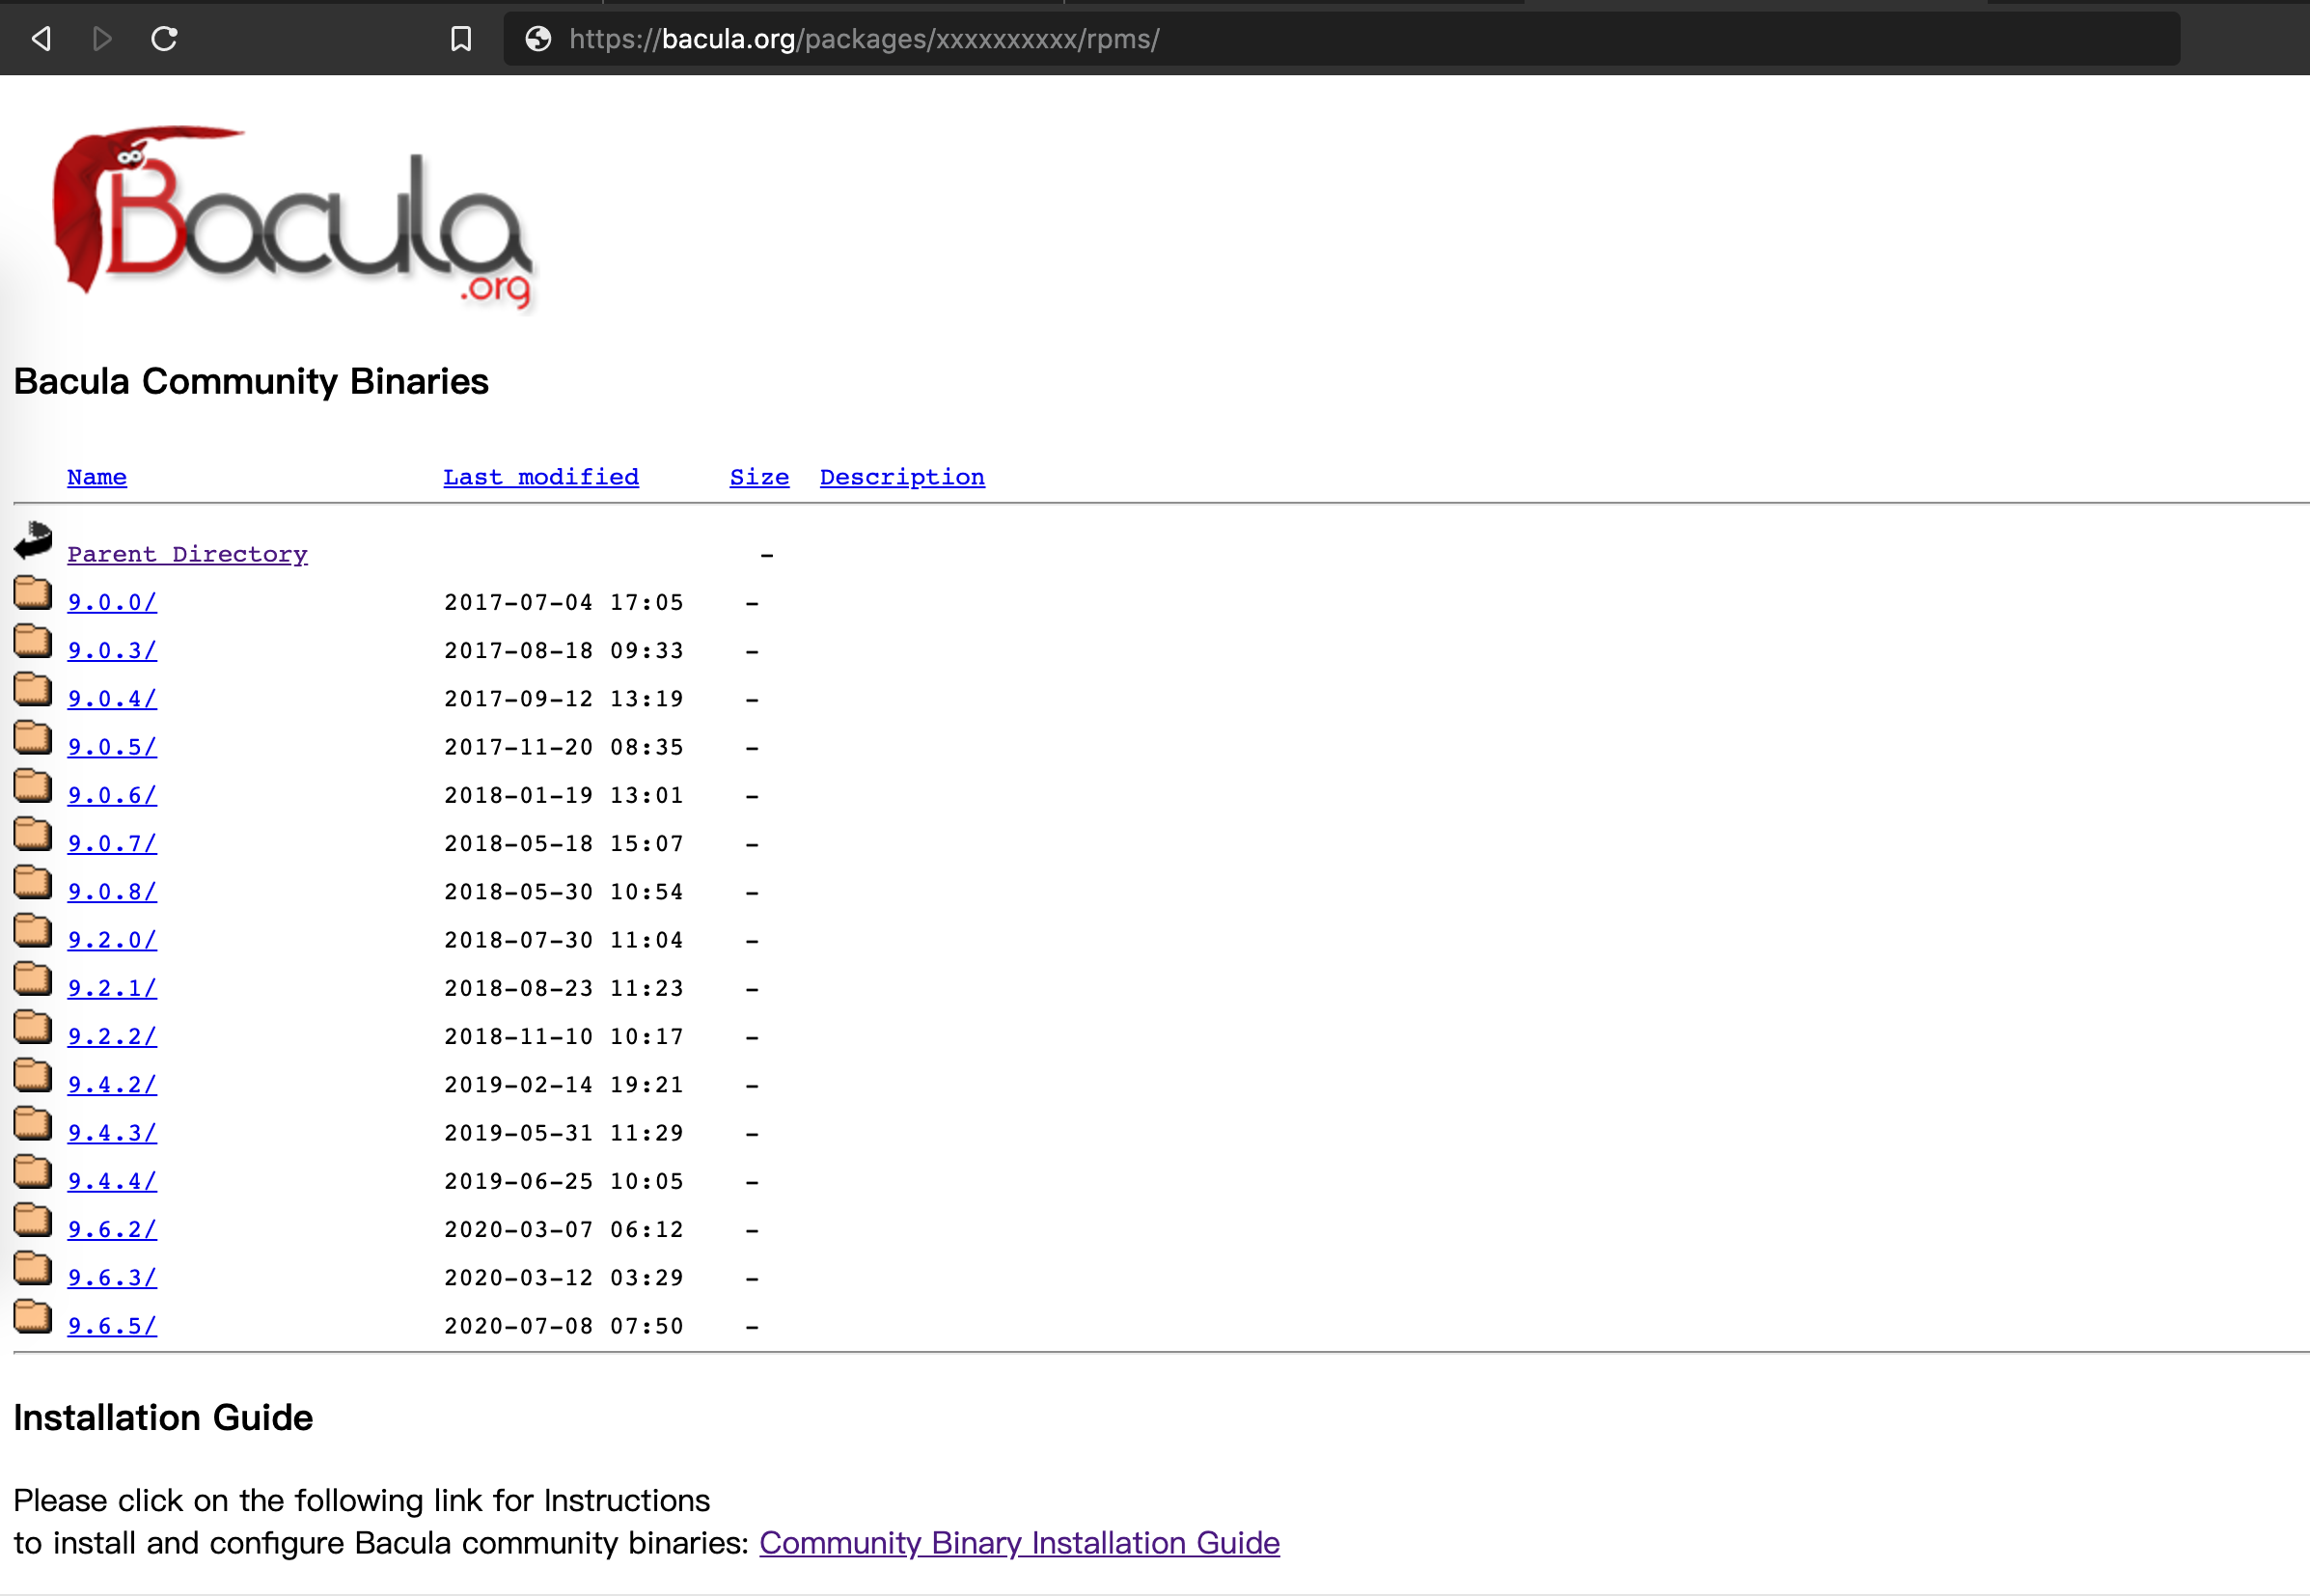
1) 获取公钥 [浏览器]====>https://www.bacula.org/bacula-binary-package-download/ |
7. Bacula GUI---(本操作需要Bacula 9.0.0或以上版本,CentOS7默认版本无法实现)
1) 确认9101/9103等端口开放并处于监听状态[本节中,至少9101端口式开放的] |

